Back to School Meal and Snack Prepping
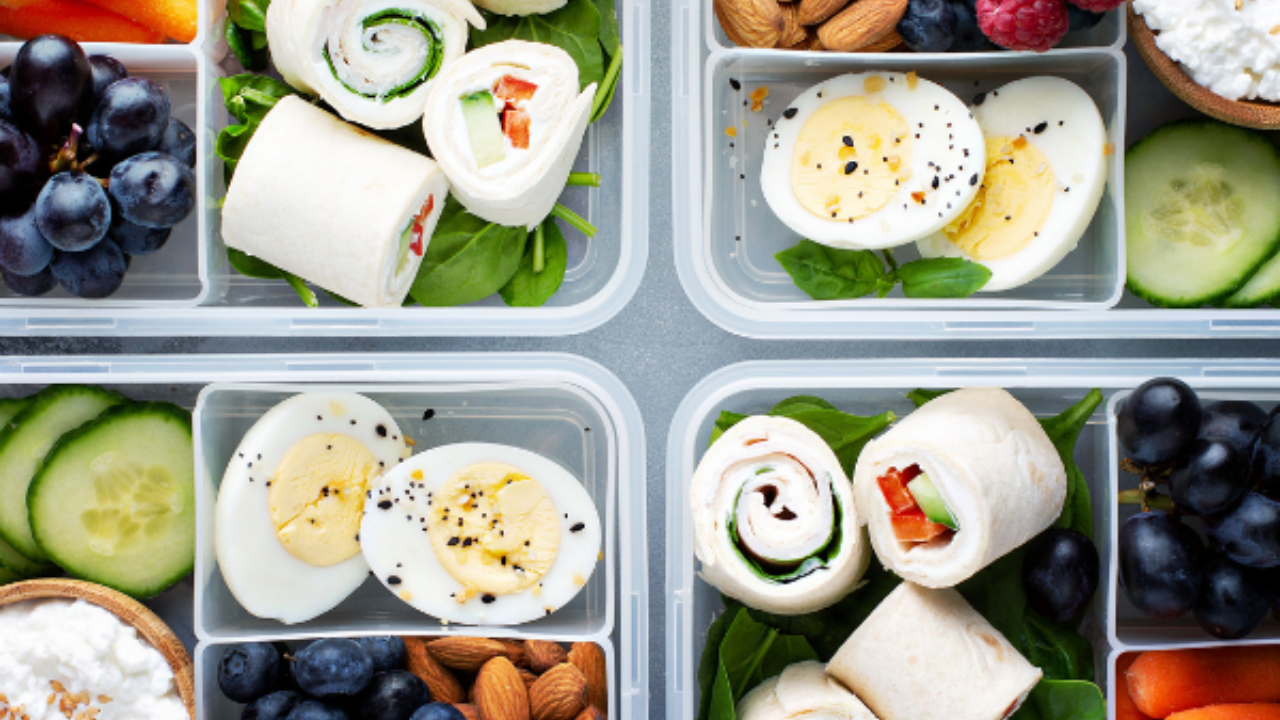
Sep 03, 2025Recently I shared on my Instagram stories about how I was prepping food for the back-to-school madness. I got inundated with requests for the recipes! Some of them are directly from other websites, and I’ve credited them below. Others I have been making for years and slowly have adapted them to suit our preferences as a family.
(I included some affiliate Amazon links in this post to help you
Let’s start with the fun stuff, the snacks!
Larson Fam Chex Mix
This one is a bit of a free for all, based on what cereals I can find at the store.
The general recipe is below, and I’ll share my favorite cereals to use.
- 6 cups total cereal: I like to use Barbara’s Spoonfulls, Peanut Butter Panda Puffs, organic honey nut O’s. You can make this completely gluten free with the Panda Puffs, GF O’s, and Corn Chex Cereal.
- 1 cup peanuts
- 1 cup pretzels (I use Stellar Pretzel Braids or gluten free pretzel thins)
- ½ cup of pecans (you can use other nuts as well, I have even used Brazil nuts because I like their nutritional value)
To make the sauce, warm the following on the stove:
- 1 stick butter
- 1 TBSP Worcestershire sauce
- 2-4 tsp garlic powder
Mix everything together and bake on a sheet in the oven at 275-300 degrees. Toss every 10 minutes for 30 minutes.
Protein Pumpkin Muffin
This family fave is from the Real Food Dietitians, one of my best resources for family friendly meals and snacks.
https://therealfooddietitians.com/pumpkin-protein-muffins/#tasty-recipes-37105 (I use Paleovalley Vanilla Bone Broth Protein powder and mini chocolate chips
Copy Cat “Healthified” Snickers Bar
At first I used a recipe for this, but I have adjusted it and I think they are WAY better this way.
Ingredients:
- 20 Dates
- 2 TBSP coconut oil, divided
- Crunchy but liquidy peanut butter (if you don’t use crunchy, I recommend adding a layer of peanuts on top of the peanut butter), how much you use depends on how peanut butter-y you want it
- 2 cups of chocolate chips or equivalent in chocolate bars (I like to mix milk and dark chocolate)
- Course ground sea salt (you can also use finely ground sea salt, I just like the crunch and look of the courser grind)
- First, if your dates are cold or not soft, soak them in hot water for 5-10 minutes.
- Place parchment paper down in a 9x9 pan
- Melt 1 cup of chocolate chips with 1tbsp of coconut oil and layer on the parchment paper and stick in the freezer for at least 20 minutes
- Once dates are done soaking, drain them (preserve 1-2 tsp of water in case you need it), and puree in a food processor.
- Take your pan out of the freezer and layer on the chocolate liquid. Stick back in the freezer for another 20 minutes.
- If your peanut butter isn’t liquid-y, you may want to melt it gently on the stove. It will layer much more easily. I used a cup of crunchy peanut butter, but we like peanut butter-a lot. (Optional: add ¼ c. protein powder). Layer on top of the chocolate. Refreeze.
- Melt the last cup of chocolate. Pour on top of your frozen layers and top with salt. Freeze for 1 hour.
- Once fully frozen, remove and let warm for 2-5 minutes. Then cut into bars and put back in the freezer until ready to eat.
Heavenly Hunks Copy-Cat
I’ve made these several times and they always go fast. They are a great after school snack but also pack easily in the lunch box.
This is another win from the Real Food Dietitians. Recipe is here.
Cleaner swap: I use honey instead of agave. It has a stronger flavor profile, which is why agave is used, but agave is pure fructose and I’m not a fan. You can often find a milder honey from your local coop.
“Cookie Dough” Dessert
This has become a staple as an after dinner snack in our home, so I decided this week to pre-make several servings to help with the after school snack-attack. The recipes are abound on Pinterest, but here’s my favorite:
- 1 cup cottage cheese (small curd is best and blends easiest)
- 1 TBSP maple syrup
- 1 tsp vanilla extract
- ¾ cup almond flour
- ¼ cup vanilla protein powder (I use Paleovalley Bone Broth Vanilla)
Blend. If it’s too thick, you can add a little plain yogurt or water to help. I stir in the mini chocolate chips at the end.
Here’s another fun sweet, after dinner snack (or afternoon pick-me-up) that’s boosted with protein.
Protein Peanut Butter Cups
I first made these years ago, and they have become a staple in our home. I have made a few tweaks over the years and I think the recipe is now perfected.
Ingredients:
- ½ cup runny peanut butter (Costco’s works great for this)
- 1 TBSP maple syrup
- 1 tsp vanilla extract
- 1 TBPS melted coconut oil
- ¼ c + 1 TBSP vanilla protein powder or unflavored collagen (I used Paleovalley Bone Broth Vanilla here)
- 2-3 cups of chocolate chips (I use a mix of dark and milk chocolate; total amount will vary on how thick you like your chocolate in your cups)
First, prep your pan. I like using mini silicon molds because it’s so easy to pop out the cups once they are set (and I don’t ever need to worry about having muffin liners).
Melt half of the chocolate chips (1-1.5c) on the stove over low heat, stirring frequently to prevent caking and burning. Once fully melted, scoop a little chocolate into the base of the muffin containers. I will often use a small spatula to make sure the bottom is fully coated. Freeze for 20-30 minutes.
Next, combine peanut butter, maple syrup, vanilla, coconut oil, and protein powder in a bowl. Once the chocolate molds are frozen, remove from the freezer and place a small scoop of the peanut butter mixture on top. I use a small scoop like this one to keep them all similarly sized (and also keeps my hands free from sticky peanut butter). I will pat down the peanut butter mixture flat using the back of the scoop or a spatula. Freeze again for another 20-30 minutes.
After about 20-30 minutes, melt the rest of the chocolate chips.
Remove your muffin mold from the freezer and spoon 1-2 tsp of chocolate over the top of the peanut butter. Use a spoon or spatula to make sure all of the peanut butter is covered.
Sprinkle with salt, if desired.
Freeze again and once fully set after an hour, pop out the peanut butter cups and store in an airtight container in the freezer.
“Healthified” Apple Dip
Stick with me on this one, because I don’t have a recipe (although I will give you a range below). This is a family favorite, and what’s so great about it is that you can adjust it to your liking.
Ingredients:
- 1 cup Cashew butter, liquid-y and soft is best
- 2 TBSP Maple syrup
- 1 tsp Vanilla extract
- Sea salt to taste
- Apples, whatever your favorite is
Blend the first 4 ingredients in a food processor. If it’s too thick for any reason, add a little yogurt or water.
Adjustments I’ve played with:
- Adding 2 TBSP water or milk and ¼ cup protein powder
- You can sub any nut butter, but cashew butter gives the mixture a caramel-y flavor
- Adding ¼ cup Greek yogurt for added protein
Play with this. You can’t go wrong!
Chocolate Peanut Butter Protein Balls
Last on the snack list, protein balls. I’ve made plenty of these where they sat in the fridge uneaten–either they were too dry or had a bad flavor combo.
Here is my favorite base recipe from Eating Bird Food. She has lots of amazing combos on her website, but here’s is my go-to:
Ingredients:
- 1 ½ cups old fashioned rolled oats
- 1 cup natural peanut butter
- ¼ cup honey
- 2 scoops chocolate protein powder (Paleovalley again here)
- 2-4 TBSP mini chocolate chips
Mix everything together. I use a medium scoop I used for the peanut butter cups to keep them all similarly sized (I also use this scoop for cookies, so if you haven’t invested in one yet, it’s time).
Ok, moving on to meals for the week!
High Protein Orzo Salad
Adapted from The Mom Nutritionist
- 1 Box Jovial Grain Free Orzo (you can use regular orzo)
- Zest and juice of one lemon
- 1 large cucumber, diced
- 1 cup cherry tomatoes, halved
- 3 green onions, thinly sliced
- ½ bunch parsley, chopped
- 1 can garbanzo beans, drained and rinsed
- 1 can black beans, drained and rinsed
- ¾ cup feta
- ½ cup olives of your choice, chopped (we love kalamata)
- 4 TBSP olive oil, more if you like
- Salt, to taste
- Canned chicken or salmon, if desired
Cook the orzo and combine with everything into a large bowl. Mix well. Store into 5-6 containers for the week.
Protein add: I love to add canned salmon or chicken for extra protein and a little more staying power.
This is also good when you swap one can of beans for edamame.
Chia pudding
This is another staple for me as a mom. My kids haven’t totally fallen in love with it like I have, but getting myself breakfast (or even lunch) some days is a massive task. Having these pre-loaded in the fridge for the week has been a game changer. They are also super easy to take on the road if you are racing off to work. These are highly adaptable, so I never make the same one twice (be on the look out for more variations in newsletters to come!)
Ingredients (makes ~5 jars):
- 2 cans of organic coconut milk (I buy in bulk at Costco and love that there’s no added sugar). You can also use ~3 cups of your favorite milk.
- 1-2 cups frozen blueberries (I use ~2ish, there’s no need to be exact)
- 2 TBSP of chia seeds per jar
Blend the milk and berries first. Pour into your jars (I use mason jars or these). I usually fill ~half way. Again, not a perfect science. Then stir in the chia seeds. Refrigerate for at least a couple hours or overnight. When I’m ready to eat, I’ll toss some fresh fruit or sliced almonds on top and hit the road. This is also yummy with a drizzle of honey on top, but definitely not needed.
And there you have it, all of my snack prepping for the first week of school. I also made homemade granola, but I will share that next week!
Become part of our newsletter community where you'll find inspiration, motivation, and helpful tips so you and your family can thrive!
We hate SPAM. We will never sell your information, for any reason.

